Sunday, January 22, 2012

Exercising the right side of the brain in a big way!

This is the under-painting with the exception of the rocks. I went over the rocks with additional paint and a palette knife.  As a negative painter, I try to have an idea in my mind, or a photo reference to use as a guide when i loosely lay down the shapes and color. This is what I call my road map.  
The final picture above is above is carefully created by carving out shapes. I think trees and bushes but my shapes are made in an intuitive manner without the support of a drawing.

Tuesday, January 17, 2012

Intuitive negative painting

I usually work from an established drawing before I lay down the under-painting in most of my work. In these two watercolors I did a dry on wet under-painting and then let my intuitive side see a scene and create it. The under-painting will lead you in a particular direction. It looks easy but it is very hard to get the perfect first layer. It helps to use paint right out of the tube and make sure both sides of the paper are thoroughly wet.   This is really the most sophisticated level of negative painting and if you want to give the right brain a work-out try it!  
I have two workshops coming up all about negative painting. Go to my web-site at www.paintpencil.com  and look under classes.

Monday, January 2, 2012

Playing around with unusual backgrounds

 I like the combination of hard geometric edges up against the soft flowing lines of a flower. This was painted today as I celebrated another new  year ahead.   If I do it again I will change the center which is too symetrical.

Visit my other new blog-- veggiefoodie.blogspot.com . This is a blog I am writing with my sister Susan. We are both vegetarians. I am a gluten free vegetarian leaning Vegan. My sister is the real cook. I would rather paint!     Happy New Year!!!!   Jane

Wednesday, December 14, 2011

White Roses on an acrylic Underpainting


This is a fun way to paint but takes a little practice I covered the surface of my paper with  the three primary colors - Red, Yellow and Blue. I let the colors blend together. Once the under painting was dry I used a template in the shape of the roses and lifted up the color to reveal the white flower.  After lifting color off the surface of the paper,  I added the shadows to define the petals. It was a technique demonstrated at the Annapolis Watercolor Club by Susan Herron. Take a look at her work to see a professional rendition  of the technique.

Saturday, December 10, 2011

Connecting Color and Shape

This painting is called Connemara. This is one of my favorite places in County Mayo, Ireland. Sometimes I refer to this painting style as a collage because different images are woven into a cohesive single painting. It is not easy. Color, shape, and negative painting  are the glue that holds it together. In May I will be including this type of design in  workshop at Maryland Hall For the Arts in Annapolis . The workshop is in May and is all about design and negative painting.

Monday, October 24, 2011

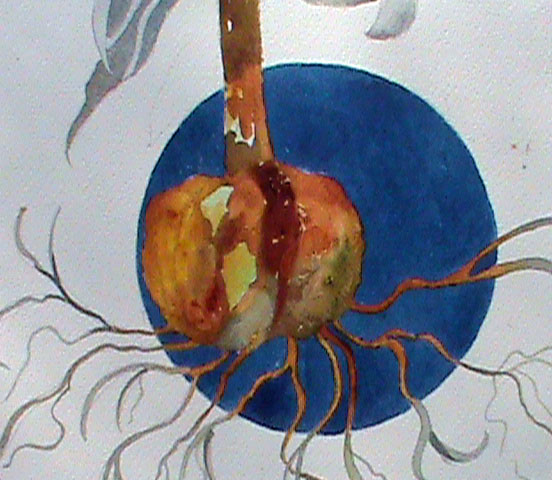
Blue Moon Fritillaria

I really Love this plant. It was painted  by breaking borders and letting some of the plant's leaves and roots run into the white background.   I also love playing complementary colors against each-other-- in this case blue and orange.

 This is only one of the designs I will feature in a class on design coming up at Maryland Hall in the Spring.

I actually had as much fun with the bulb as the flowers!   This is not a plant that is painted very often. Give it a try!


Monday, October 17, 2011

Getting Ready for Floral Watercolor #2 in the winter term

Registration has begun for  Floral Watercolors. This class builds on the first semester inwhich we focused strictly on painting a single flower.    Now the flowers will be included in a complete composition.   Here is an example of a challenging composition featuring yellow orchids.  The class meets Thursday nights from 6-9 in Edgewater, Maryland. Go to http://www.paintpencil/ for all the details!